
#BeeHouse Reveal - A Hidden Treehouse
- Meredith Street

- May 7, 2022
- 4 min read
Another #BeeHouse reveal post is finally here - along with some updates from our family! On this post, I'll share sunporch and living spaces on the main level at the #BeeHouse. But first, I have some big news!
Austin recently earned his license as a residential contractor! I am so proud of his hard work and am always amazed at his gifts and talents and ability to learn quickly. While we are still enjoying our day jobs, we are excited to see where this will take our family and what it could mean for our space here on #StylingtheStreets. We have a lot planned to share on our social media and here following our final #BeeHouse posts. Some things coming up are our reveal of the major remodel of my parent's basement that is pretty much complete, custom garage storage plans, outdoor furniture for a client, and an upcoming bathroom remodel for a client. But what I am really excited about is a special project we have started for our daughter who is turning two at the end of May!
How Many Layers of Paint Does it Take to Cover a Sunporch?
Like those old commercials about Tootsie Pops, that's exactly how we felt when working to brighten up the sunporch at the #BeeHouse. When would it ever be enough primer, paint, and caulk? We started on this room the very first weekend and it was one of the last to be complete!

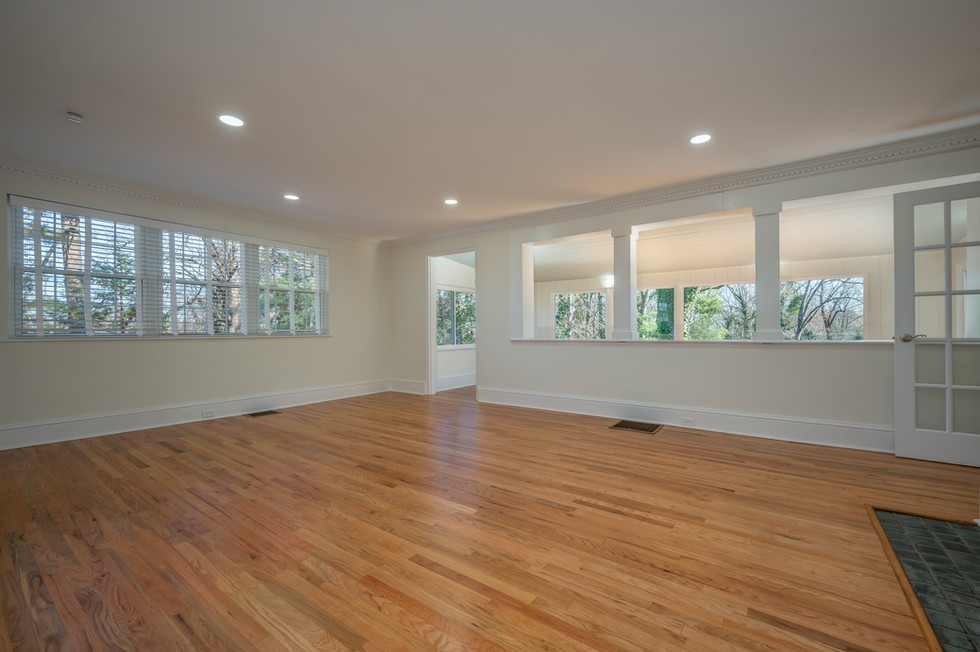
The goal for this room was to take it from a sunporch add on to a space the was flexible and felt intentional with the design of the home. I laugh, because we have a close friend who saw the original listing pictures for this house and did not go look at it because of the awkward wall and opening from the living room to the sunporch. I am extremely pleased with how this all turned out and it really is my favorite space in the entire house. It is like being in a treehouse and is so bright and happy. If I lived there, I would have the most comfortable chair out here for my morning coffee every day.
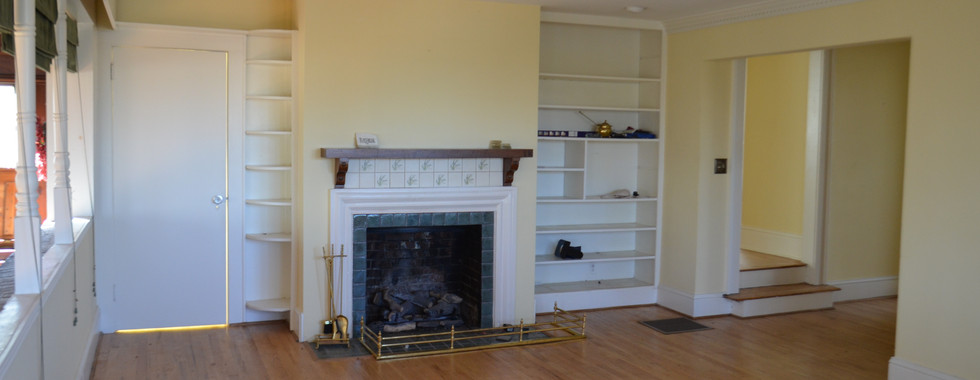
So what did we do to accomplish this transformation? Well first, we did a lot of demo. Removing the fluorescent light boxes and cleaning up the line of sight around the opening between the living room and sun porch was our first step. We took out the built in on the end of the sunporch that was falling apart to open up the space. We replaced the windows on the sunporch. They were very old and broken, so much so that there was solid glass on the inside covering all the windows. Josh Smith, of JLS Construction, did a great job helping us come up with a solution to have paneless windows along the back so that you had an unobstructed view and slider windows on each side that could open and allow a marvelous breeze. This really helped accomplish the tree house feeling.


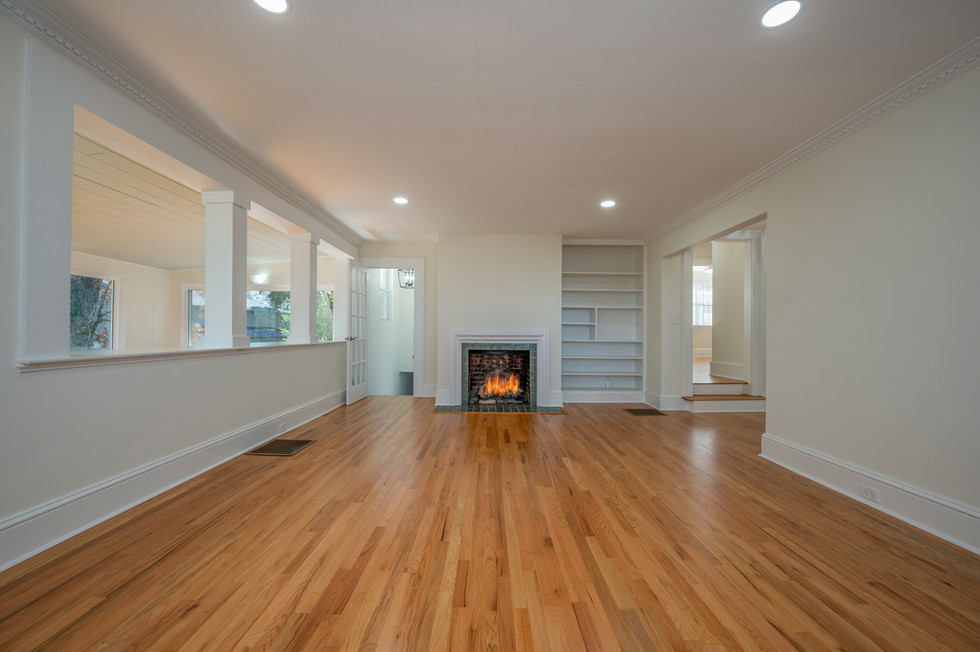
We spent much of our time coating the wooden panels with block out primer, filling in old holes, and caulking the gaps in between to make things look a lot better. This also included the ceiling that had the same material on it. It was a lot of prep work during summer without AC. When painting wooden panels like that you don't want to skimp on the prep, because it will come back to get you in the form of seeing a lot of flaws and the wooden knots showing through your new paint over time. We chose to paint the living spaces and the sunporch the same wall color: BM Swiss Coffee. It is such a beautiful and warm white that shows contrast with white trim. We decided to make the sunporch feel special and paint the ceiling a pretty gray blue with BM Quiet Moments used in other spaces throughout the house. The way the light cast in this room made other blues look dark and stormy or were too 'baby blue' feeling. This ended up being just right. We had the original hardwoods refinished with a natural stain so that the heart pine floors on the sunporch would blend with the rest of the home.

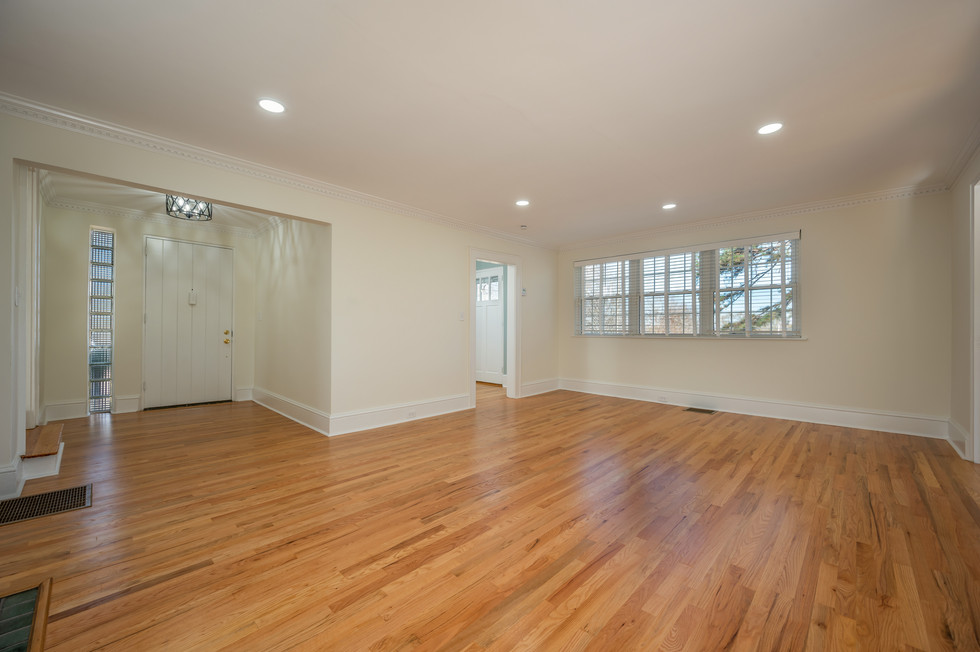
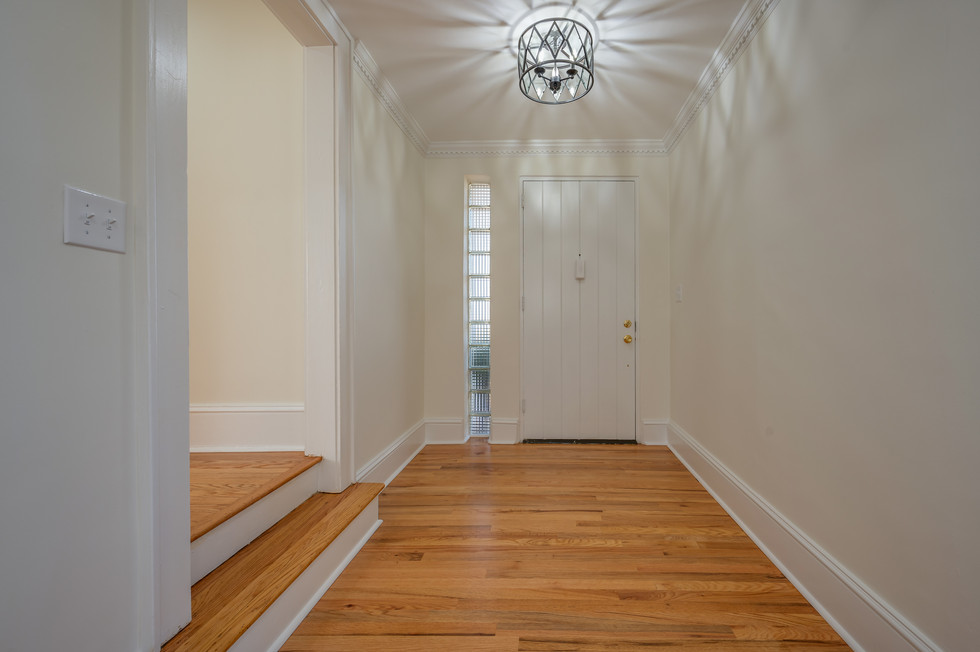
My mom and I had an idea for built in shelving that would cover up the old window ledge and new columns to modernize the space. We explained what we envisioned and Austin drew up some plans that were perfect. These shelves and the large countertop make this space so versatile. It could be used for serving and entertaining since the kitchen space is small and the shelves are deep enough for book, display, or toy bin storage. This room could be a dining space, sitting space, playroom, or more. It flows so much better with the living room, but still has a separate feeling. I also love walking in the front door and seeing the windows, columns, and tree top views. In the living room and entryway, we simply changed lighting, removed the mantel and tile, painted, removed shelving, and repaired trim where needed.


Next week, we will share the lower level remodel and bathrooms as our final reveal for the #BeeHouse! Thanks for following along.
- Meredith


Comments